I am going to explain using a step by step tutorial for all of you newbies out there on how to install actions for photoshop elements 7.
1. Download the action you are wanting to load. Make sure to remember were you downloaded.
2. Next, find the file that you just download and if it needs to be unzipped then follow the instruction below to do so other why's go on to the next step.
Unzip Instructions:
a- Double click on the zipped folder that you would like to unzip

b - Click on Extract All under the folder task

c - Next, an extraction wizard dialog box will come up

d - Click next then click on browse to select the destination were you would like to save the folder to.

e - Now that you have chosen a location to save the file click next and make sure the
show extracted files has a check mark beside it.Then press finish.

f - Next, it should bring up a window showing the folder that you just extracted.

g - Next double click on the folder you just extracted.

The unzipping of the file is complete continue on the loading the actions.
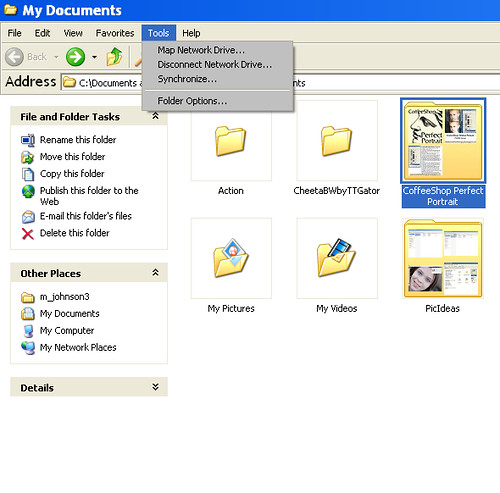
3. First before we even begin to load the actions we need to make sure that are folder options are set to view hidden files and folders.
How to show hidden files and folders
a- Go to Tools - Folder Options in the
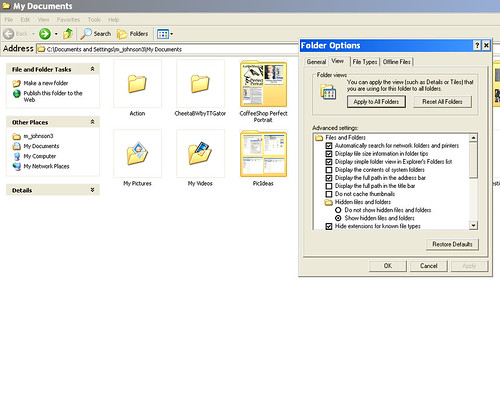
b - Folder options dialog box will appear. Select the view tab and
scroll down to hidden files and folders and make sure the show
hidden files and folders option is selected. Then click ok.
4. Ok, now we can go one to copying the actions files and placing them in the correct directory. First we need to change the way we view the window so we can read what type of files are located in the folder that we just unzipped.

5. Next, look under the type column and find the .png and the .atn file and select both of the like i did below. To select them all you have to do is select on then while holding down the ctrl button click on the other file.

6. Next, after you have selected the to files you will need hold the ctrl button down and click on the letter c. This copy's the files so you can paste them into the location later.
7. Once, you have copied them you will then need to go and select on view - explorer bar - folders

8. Next, you should see some folders on the left hand side of your screen.

9. Next, go to this location C:\Documents and Settings\All Users\Application Data\Adobe\Photoshop Elements\7.0\Photo Creations\photo effects
10. Once you have the photo effects folder open then all you have to do is click on ctrl plus v and that will paste those 2 files into the photo effects folder.
You should now be done with installing the actions.
Next all you have to do is open up your photoshop elements 7 and locate the photo effects folder and the action you just installed should be located there. I hope this helps!
Hi!
ReplyDeleteWhere in photoshop elements.. should i look for the action?