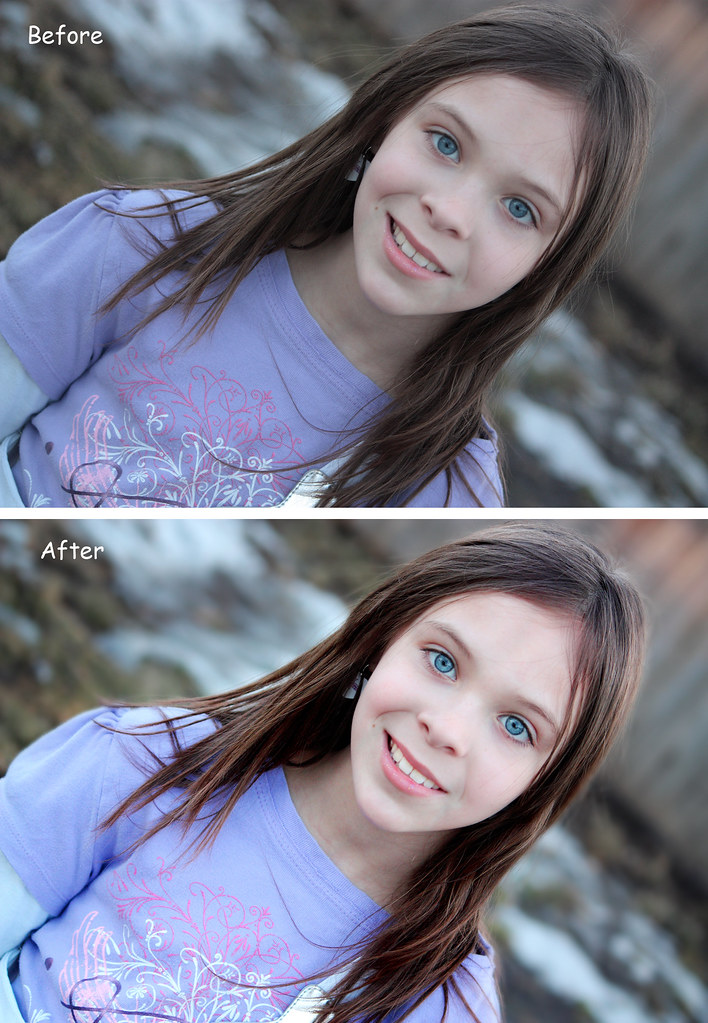
Photoshop CS3 Eye Tutorial
Open the photo that you would like to edit. I will usually do all of my basic photoshop editing before editing the eyes but it's up to you.
1. Next, make sure your layers pallet is open. Duplicate the background layer by either typing ctrl +J or by dragging the background layer into the duplicate layer icon.

2. Next, change the layer blending mode to screen.
3. Next, you will need to add a layered mask to the duplicate background layer by holding down alt + click on the add vector mask in the layers pallet. This step will unmask everything in your photo so it looks like it did before you changed the blending mode to screen.
4. Now select your paint brush from the tools menu and change the color of your brush to white so you can't paint back the areas that you want to be brightened up.
5. Next with the paint brush, paint colored areas of the eye leaving the white's of the eyes and everything else in the photo alone. If your not for sure what i mean check out my pic below. Right now it may look a little funny but trust me it will look better in a minute we will adjust the opacity when we are done.

6. Okay next what we will need to do is brighten up the white's in the eyes using the same masked layer as we did in step 5. With your brush still selected change the brushes opacity to about 30% and brighten up the white in the eye's. See the picture below if your not for sure what i am talking about.
Tip: If you end up going outside the intended area that you wanted then just set your brush color back to black and mask the area back out.
7. Once you have completed brightening the eye up you will need to bring the opacity down to the desired look so that the eye doesn't look to fake. I used 40% but it's up to you and what your photo looks like. Also do keep in mind that when we sharpen the eyes in the later steps it will also brighten the eye's up.

8. Once you have done that flatten the image and then duplicate the background layer again.
9. Next we will be sharpening the image. To do this make sure you are working on the duplicate background layer. Go to filter - other - highpass sharpening - use 6 pixels and click ok - change the layer blending mode to soft light.
10. Next, you will need to add a layered mask to the duplicate background layer again by holding down alt + click on the add vector mask in the layers pallet. Click on your paint brush tool if it's still not selected already and change the color to white.
11. Now you will paint in all of the eye and if you want you can even sharpen up the eyelashes a little also. If you sharpen the eye lashes use a change your opacity of your brush to about 40%.
12. Next when that's complete flatten your image and your done.
Awesome tutorial! I just edited one of my images and WOW!
ReplyDeleteI am confused some of the pictures aren't showing up.. but when I try to do a new vector make it won't let me really do anything at least it doesn't show it's doing anything..
ReplyDeletesorry vector mask*
Delete